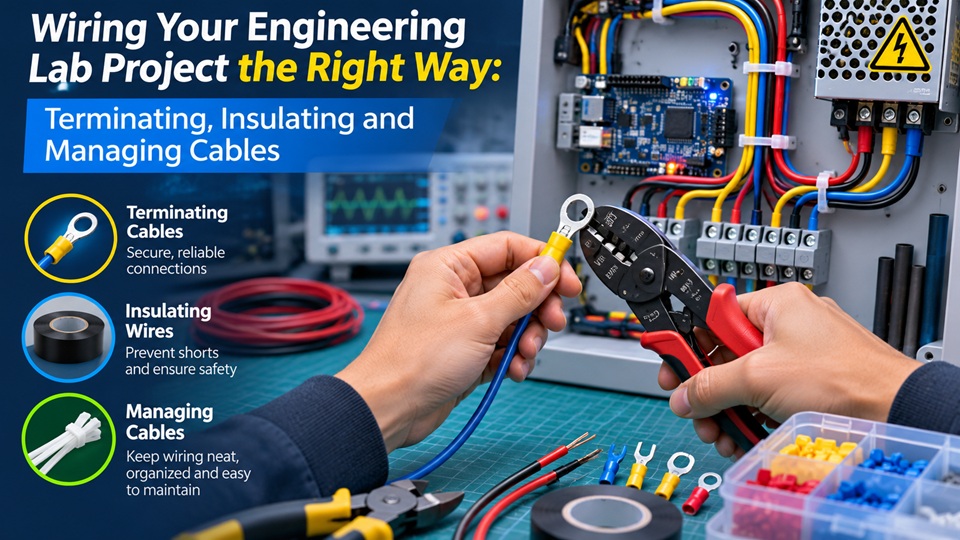
Every electrical or electronics lab project ends with the same test: does it work, and is it safe to hand to the next person? Students often spend hours on the circuit design and minutes on the wiring. Yet in most lab assessments and real workplaces, loose joints, bare conductors and tangled cables are where marks are lost and faults begin.
This guide covers the three wiring skills every engineering student should practise: terminating a wire properly, insulating every joint, and managing cables so the build is neat, safe and easy to troubleshoot.
A circuit that works on the bench can still fail later. The most common causes in student projects are:
Loose connections: a wire that is only twisted around a terminal or poorly crimped heats up under load and can fail intermittently, which is the hardest kind of fault to find.
Exposed conductors: bare copper near another conductor or a metal chassis can cause a short circuit or an electric shock.
Strain on joints: cables that hang freely pull on solder joints and terminals every time the project is moved.
Untraceable wiring: a bundle of same-coloured wires makes it almost impossible to check or repair the circuit later.
Good practice solves all four, and it uses only a few simple parts.
There are three common ways to finish the end of a wire in a lab project:
Screw terminals: quick and reusable, ideal for prototypes and terminal blocks. Strip only as much insulation as the terminal needs, and for stranded wire use a ferrule so loose strands cannot escape.
Crimp terminals: ring, spade, pin and butt connectors give a strong, repeatable joint when you use the correct crimping tool for the terminal size. A good crimp should not pull out by hand.
Soldered joints: best for permanent connections on circuit boards and small wires. Heat the joint, not the solder, and let it cool without moving the wire.
Whichever method you choose, match the terminal to the wire gauge. A terminal that is too large for the wire gives a weak crimp, and one that is too small cuts strands and raises resistance.
Any joint that leaves metal exposed needs insulation. Electrical tape is fine for a temporary fix, but it slips, leaves sticky residue and lifts at the edges as it warms up. Heat shrink tubing is the better choice for lab work because it shrinks tightly around the joint and stays in place.
A few rules make it easy to get right:
Slide the tubing on first. Put the sleeve on the wire before you solder or crimp, or you will not be able to fit it afterwards.
Choose the right size. The tubing should slide over the joint before shrinking and grip the wire firmly after. A 2:1 shrink ratio suits most small wires; 3:1 covers bigger size differences, such as a wire going into a terminal.
Cover enough length. Leave a few millimetres of overlap on each side of the exposed metal.
Heat evenly. Use a heat gun and keep it moving. A lighter scorches the tubing and can damage the insulation underneath.
Use adhesive-lined tubing where moisture is possible. Its inner glue layer melts and seals the joint, which matters for outdoor sensors and anything that may get wet.
Lab technicians and project teams often keep a full range of sizes and colours on hand, since buying bulk heat shrink tubing works out far cheaper than small retail kits when a whole class or workshop uses it.
Once every wire is terminated and insulated, the last step is routing. A tidy build is easier to test, safer to move and looks professional in a project review.
Bundle with cable ties. Group wires that run the same way and secure them every 10 to 15 cm. Pull the tie firm, not tight enough to dent the insulation, and trim the tail flush so there is no sharp edge.
Anchor to the base. Use adhesive or screw mounts so cables cannot pull on terminals or solder joints.
Leave a service loop. A small extra length near each connection makes it possible to re-terminate a wire without rebuilding the bundle.
Colour-code. Follow a simple scheme, such as red for positive, black for negative and one colour per signal type, using coloured wire, coloured heat shrink or coloured ties.
Label both ends. A small label or a numbered tie at each end of a cable turns troubleshooting from guesswork into a quick check.
Nylon 66 cable ties cover almost every indoor lab job. For projects that will sit outdoors, such as weather stations or solar experiments, use UV-resistant black ties, because natural nylon becomes brittle in sunlight. Engineering departments that order in volume often buy direct from a cable ties manufacturer in China, which keeps the cost per tie low across hundreds of student projects.
Before you hand in or power up your project, check:
Every wire end is terminated, with no loose strands.
Every crimp passes a gentle pull test.
No bare metal is visible at any joint.
Heat shrink is fully shrunk, with no splits or scorch marks.
Cables are bundled, supported and clear of moving parts and hot components.
Power and signal wires are colour-coded and labelled.
Nothing pulls on a terminal when the project is moved.
Neat wiring is not just about appearance. Proper terminations, insulated joints and well-managed cables make a project safer, more reliable and far easier to test and repair. These are the same habits used by professional electricians and technicians, and practising them in the lab is one of the most useful skills an engineering student can build.






Get all latest content delivered to your email a few times a month.

